Day one with the NVIDIA DGX Spark
September 22, 2026/6 min read/Hannes Hapke
Part 1 of 3. Next: Two DGX Sparks, one cluster — and the mystery of the 26 Gbps link · Running GLM-5.2 on two DGX Sparks with llama.cpp
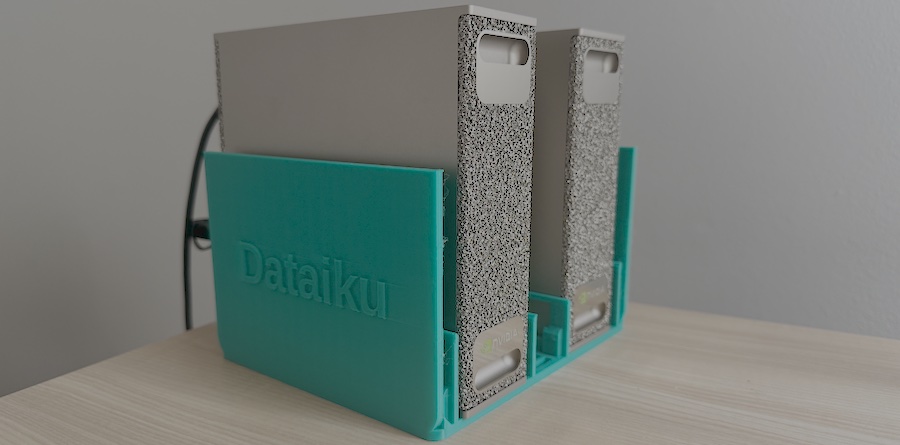
We received two NVIDIA DGX Spark™ last week. If you haven't seen one: it's a 150 mm gold box with a GB10 Grace Blackwell superchip, 128 GB of coherent unified memory shared between 20 Arm cores and a Blackwell GPU, a 1 or 4 TB NVMe, and — the part that matters for Part 2 — a ConnectX-7 NIC with two QSFP ports on the back.
This post is what I wish I'd had before plugging it in: the setup gotchas, how I got remote access working, how I share it with colleagues without exposing my personal Tailscale network, and how I run Ollama as a proper service. Parts 2 and 3 cover clustering two of them and running a 744-billion-parameter model on the pair.
The DGX Spark powers on the moment it receives power. There is no "press the button to boot" step. So connect everything first, then plug in the power adapter last.
A few things that saved me grief:
Use the 240 W adapter that came in the box. The forums are full of people reporting throttling, boot failures, and random shutdowns that were caused by a third-party USB-C brick.
Avoid captive portal Wi-Fi on the first boot. The wizard downloads a full OS image, and a dropped connection mid-install can leave you with a system that needs recovery media. If the installation looks frozen, wait for ca. 10 min, switch to the configured Wi-Fi network, and connect to the machine with the configured user/password you have set (see below for details)
The rear panel is: power button, four USB-C ports (one designated for power), one HDMI 2.1a, one 10 GbE RJ-45, and two QSFP ports.
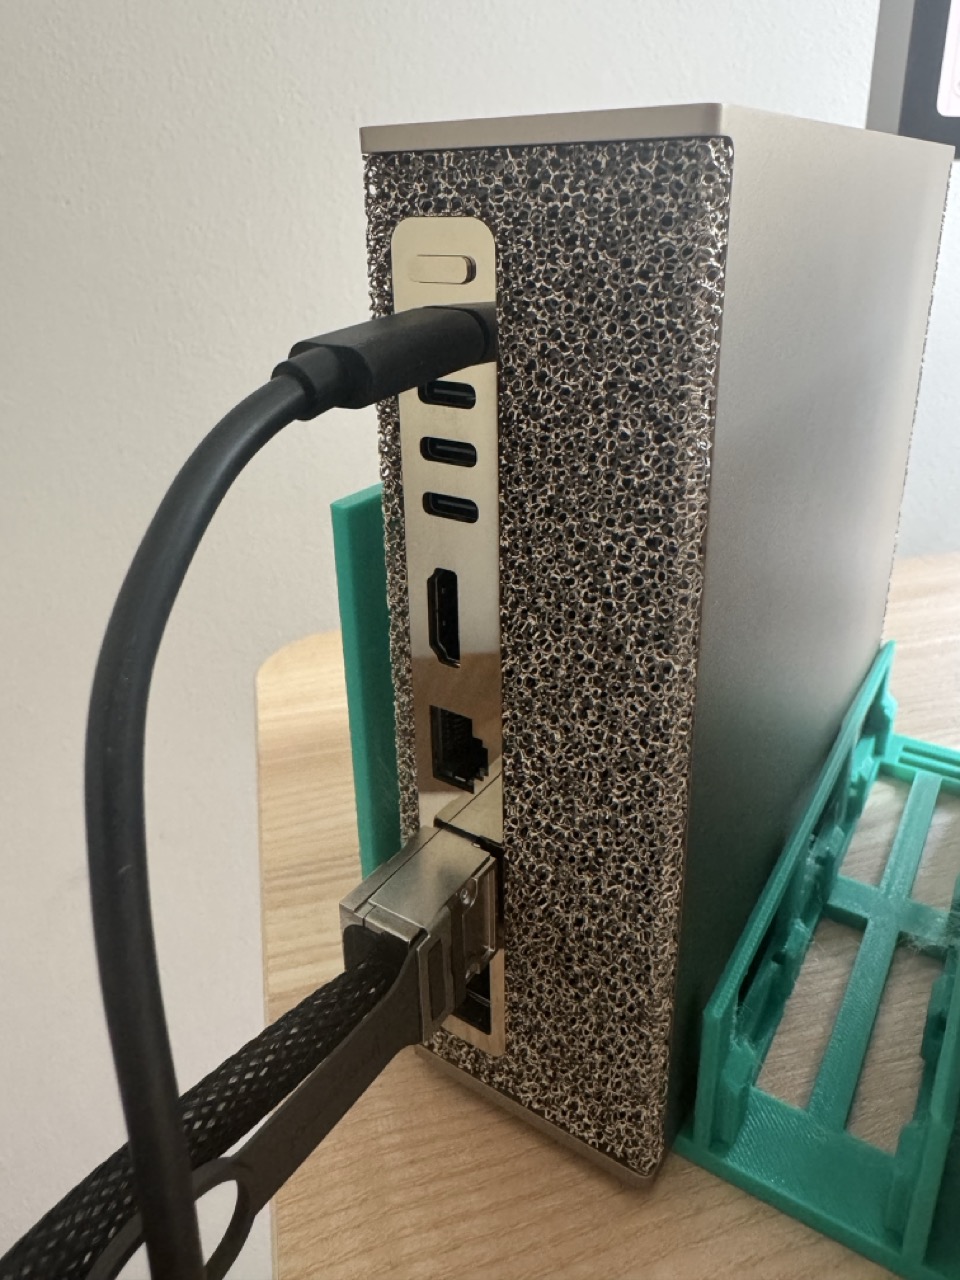
Backside of the DGX Spark: 4x USB-C, 1xHDMI, 1x10 GbE RJ-45 and 2xQSFP ports
With a monitor and keyboard: plug them in, connect the power, then follow the on-screen wizard. If you're using Bluetooth peripherals, pair them before clicking "Get Started"; pairing stops after that screen. We have not used this installation path; however, we read that folks ran into trouble with some USB-C monitors. If a USB-C monitor shows nothing, switch to HDMI. Some displays don't handshake with the DGX Spark over DisplayPort alt-mode out of the box.
Headless: We went the headless route. The DGX Spark broadcasts a Wi-Fi hotspot out of the box; the SSID and password are on a sticker on the Quick Start card in your box. Join it from a laptop, and a captive portal page opens; complete the wizard there. When the DGX Spark joins your real Wi-Fi, its hotspot shuts down, and your laptop should reconnect to the normal network. Budget 10 minutes for the DGX Spark to be unreachable while it updates and reboots.
Either way, the wizard walks through language, keyboard, terms, a user account (this gets sudo), optional telemetry, Wi-Fi, and then the software download. Do not power it off during the download and installation. The process can run up to ten minutes after the UI claims to be rebooting.
After the installation, I connect to the DGX DGX Spark via SSH. DGX OS is Ubuntu-based with GNOME.
$ ssh <your username>@spark-XXXX.local
or
$ ssh <your username>@<internal IP address of the DGX Spark>
Once you're logged in, you can run, and your output should be similar to the one below:
$ nvidia-smi
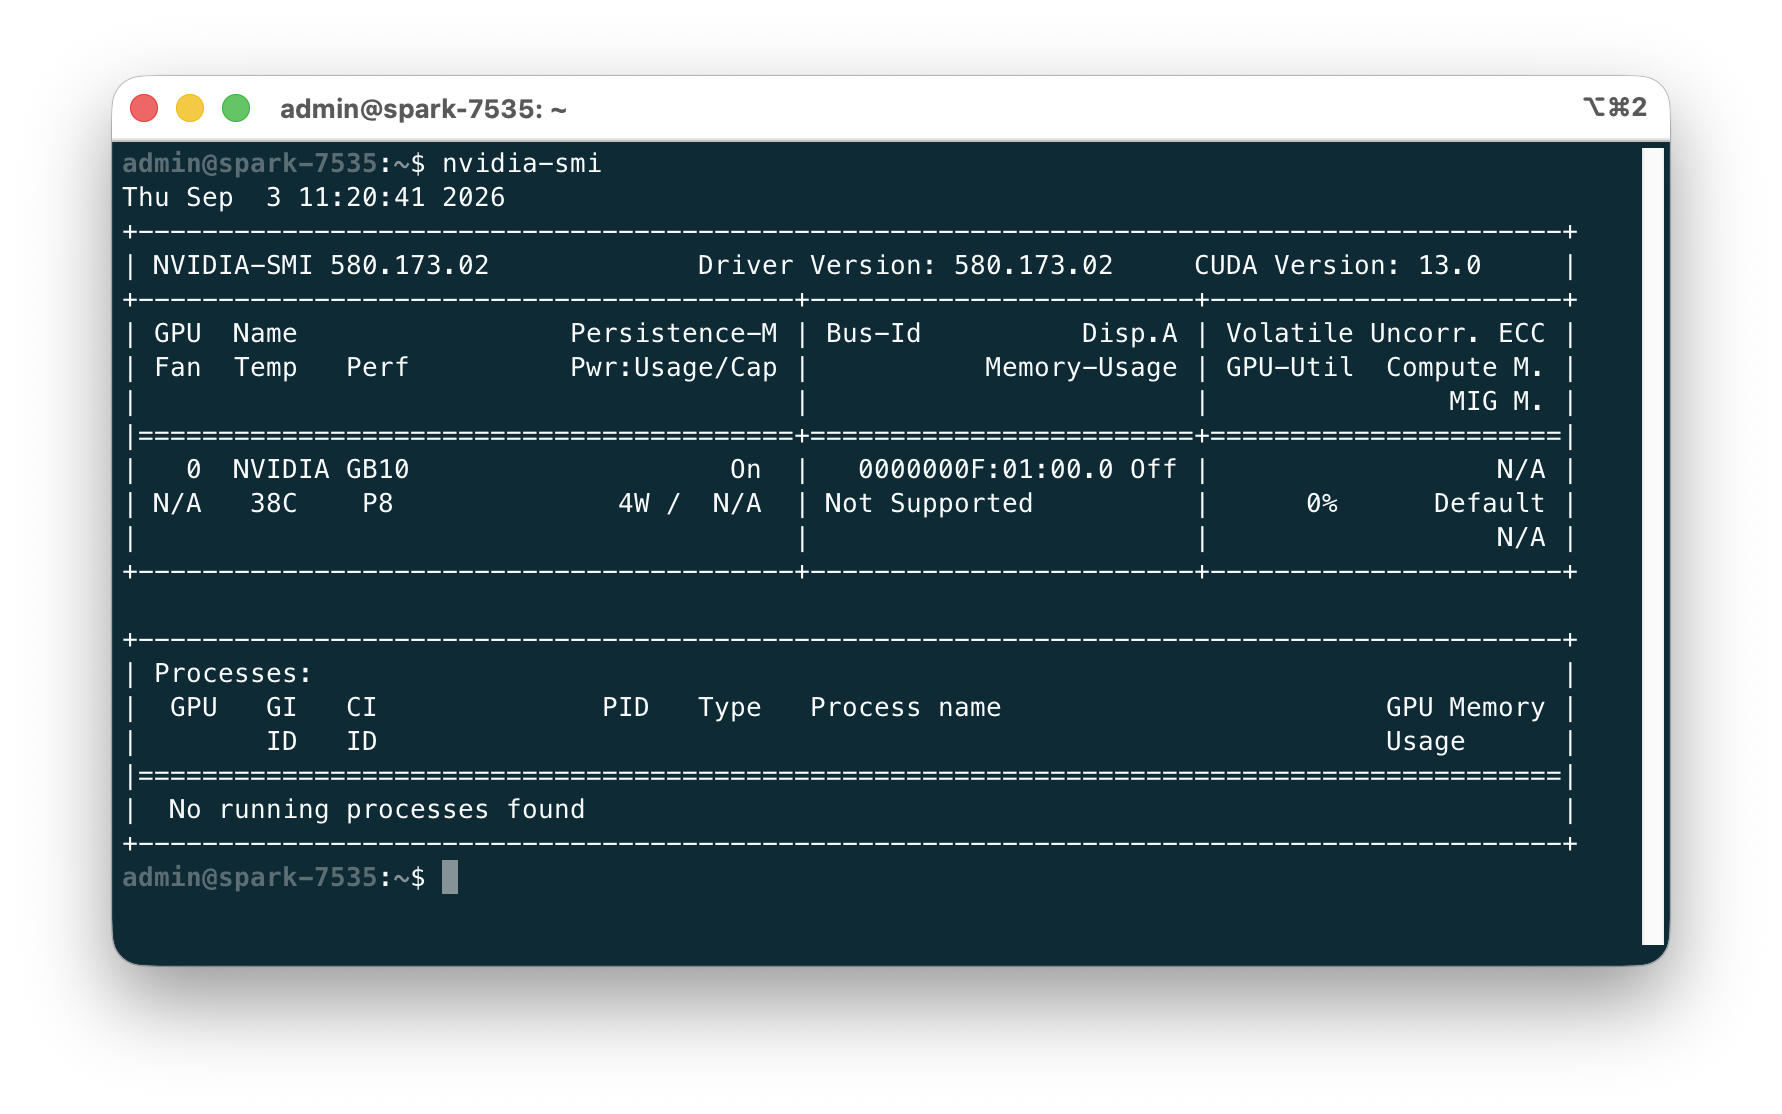
Running nvidia-smi on the new DGX Spark
If Memory-Usage says Not Supported, that's normal. The Spark's GPU has no dedicated framebuffer — it's unified memory — so there's nothing separate to report. Per-process memory still shows.
Then:
$ free -h            # ~128 GB, shared with the GPU
$ docker --version   # Docker + NVIDIA container runtime come preinstalled
Next, open the DGX Dashboard (Show Apps → DGX Dashboard, or tunnel port 11000 if you're remote) and run every pending update before doing anything else. I'm putting this in bold because it comes back to bite me in Part 2: run the Dashboard updates first, on every Spark you own.
The easiest remote path is NVIDIA Sync, a desktop app for Windows, macOS, and Ubuntu that manages SSH tunnels for you and gives one-click access to the Dashboard and JupyterLab. It also has Tailscale integration and a Cluster Assistant, which becomes the hero of Part 2.
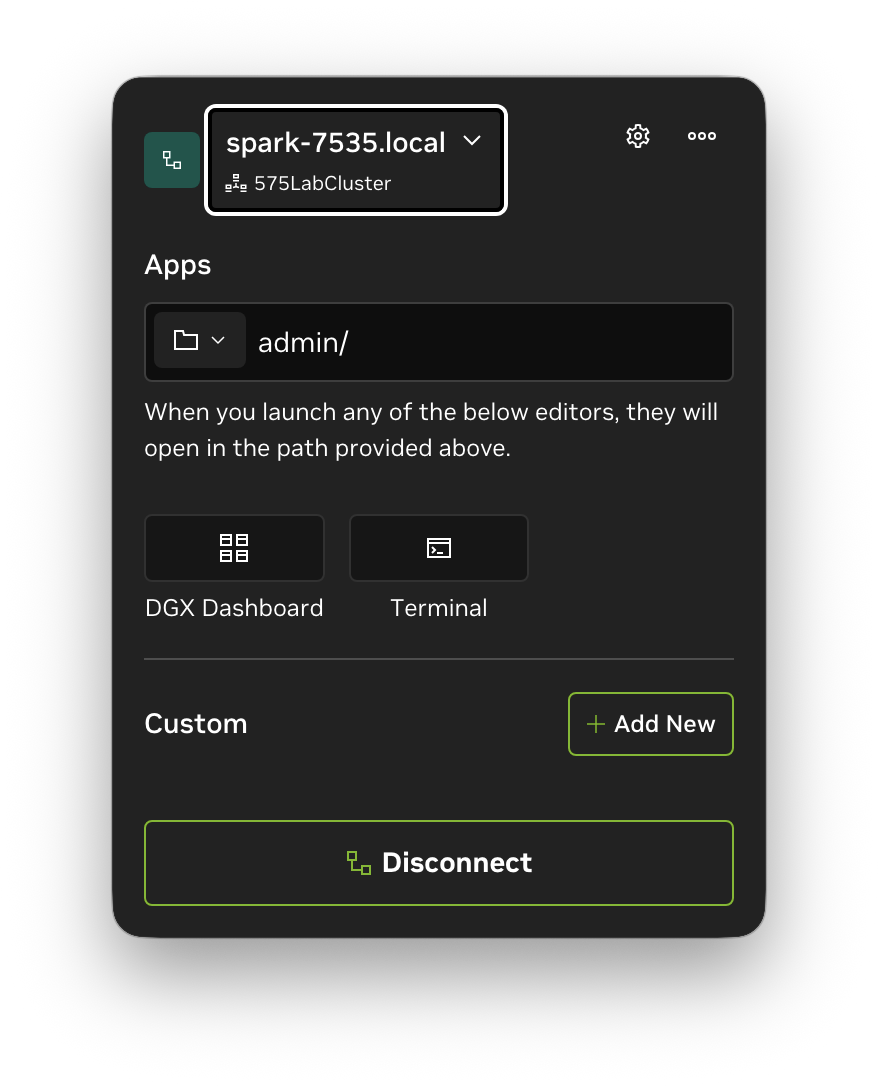
NVIDIA Sync menu
Plain SSH works fine too. The DGX Spark advertises itself over mDNS as spark-xxxx.local:
$ ssh admin@spark-7535.local
$ ssh -L 11000:localhost:11000 admin@spark-7535.local   # then open http://localhost:11000 for the Dashboard
I copied my SSH key over and turned off password auth right away:
$ ssh-copy-id [email protected]
# on the Spark:
$ sudo sed -i 's/^#\?PasswordAuthentication .*/PasswordAuthentication no/' /etc/ssh/sshd_config
$ sudo systemctl restart sshI wanted three things:
to reach the DGX Spark from anywhere
to let my colleagues use it
to keep my personal Tailscale network — laptop, phone, NAS — invisible to them.
My first instinct was "I need two Tailscale connections." I didn't.
Tailscale has a feature that solves exactly this: sharing a single device. The DGX Spark stays in my personal tailnet; I share just that one machine with each colleague. On their side, it appears as a normal device in their tailnet. On my side, they can see nothing else. Shared devices are also quarantined — they can only respond to inbound connections, never initiate connections into a colleague's network.
Setup:
# on the Spark
$ curl -fsSL https://tailscale.com/install.sh | sh
$ sudo tailscale up
$ tailscale ip -4      # note this address — it's used below
Then, in the Tailscale admin console: the DGX Spark's machine entry → Share → send the link. Colleagues accept with their own free Tailscale accounts. Revoking access later is one click. If you'd rather not tie team infrastructure to a personal account, the variant is a dedicated "lab" tailnet that owns the DGX Sparks, which then shares them back to your personal account — same effect, more robust when people come and go.
Ollama is the fastest way to prove the GPU works:
$ curl -fsSL https://ollama.com/install.sh | sh
$ ollama run gpt-oss:120b
The installer registers a systemd unit, but I hit Error: could not connect to ollama server after a reboot, which is just the service not running:
$ sudo systemctl enable --now ollama
The bigger issue: by default, Ollama only listens on 127.0.0.1, so colleagues connecting over Tailscale get a connection refused even when it's running. I fixed that with a systemd override that binds Ollama to the DGX Spark's Tailscale address only — reachable by anyone I've shared the node with, invisible to the LAN and the internet:
$ sudo systemctl edit ollama
[Unit]
After=tailscaled.service network-online.target
Wants=network-online.target
[Service]
Environment="OLLAMA_HOST=100.x.y.z:11434"
Environment="OLLAMA_KEEP_ALIVE=1h"
The After=tailscaled.service line matters: binding to a specific IP requires that interface to exist, and at boot Ollama can otherwise race Tailscale and crash-loop. KEEP_ALIVE=1h keeps a 120B model resident between prompts instead of unloading it after five minutes.
Then sudo systemctl restart ollama, and from a laptop on the tailnet:
$ curl http://100.x.y.z:11434 # "Ollama is running"
If that fails fast (a few milliseconds rather than a timeout), the packet reached the DGX Spark and nothing was listening — check sudo ss -ltnp | grep 11434 on the DGX Spark to see what address Ollama actually bound. In my case, the override file was empty because I'd pasted my settings below the "edits below this line will be discarded" marker in the editor. Put them at the top.
At this point, I had a single DGX Spark I could reach from anywhere, share safely, and run 120B-class models on. Then a second one arrived, and things got interesting. Part 2 is about linking them into a 256 GB cluster, and the afternoon I spent staring at a 200-gigabit link that was moving 26 gigabits.