


Salesforce is a customer relationship management (CRM) system with over 100,000 customers.
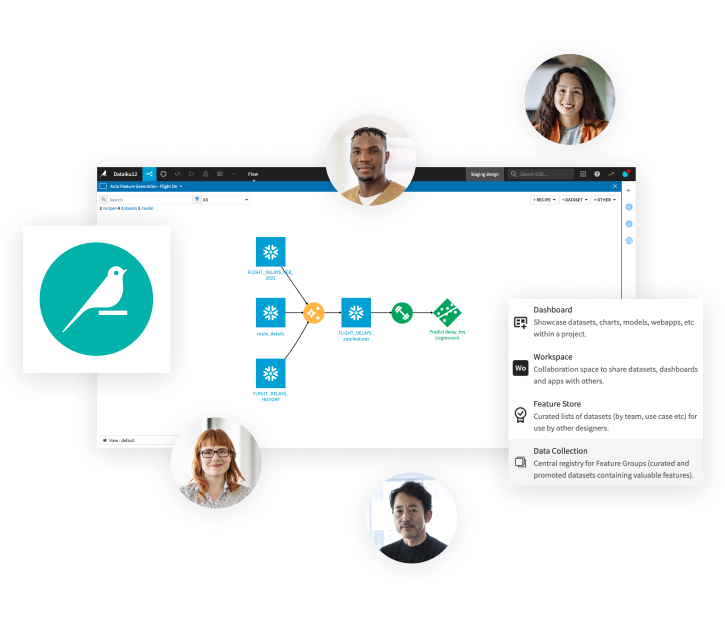
The Salesforce plugin for Dataiku DSS lets you read and write data from/to the different services (Sales Cloud, Service Cloud, Marketing Cloud, …). It can be contacts, leads, opportunities, cases… You can then analyze in DSS the full combination of data, merge with other data sources, build your reports, enrich machine learning models and push custom metrics to the CRM.
The plugin connects with Salesforce via the Force.com REST API.
It can read:
- records/items of an Object
- results of a List View
- results of a SOQL query you define
- results of a Report
It can write/update any Salesforce records of an Object thanks to a DSS custom recipe.
Plugin Information
| Version | 1.2.1 |
|---|---|
| Author | Dataiku (Jérémy Grèze & Alexandre Bourret) |
| Released | 2017-02-17 |
| Last updated | 2020-12-06 |
| License | Apache Software License |
| Source code | Github |
| Reporting issues | Github |
How to set-up
The plugin offers 3 authorization methods to connect via the Force.com REST API:
- Salesforce login (new in plugin version 1.2.0): connect to Salesforce with a Username-Password login that is stored a plugin preset. This is the recommended mode for new users of the plugin.
- Salesforce SSO (new in plugin version 1.2.0): connect to Salesforce with a SSO login that is stored in a plugin preset. It uses the per-user credentials mechanism of DSS, so all users of the plugin need to authenticate themselves via the SSO.
- JSON token (legacy): use a DSS recipe with a Username-Password login to get and refresh an access token that is saved in a JSON file on disk.
In any case, you will need to create a “Connected App” in your Salesforce portal. To do so:
- go to Setup > Quick Find, search for “App Manager”.
- Create a “New Connected App”. Name your application. Tick the box “Enable OAuth Settings”.
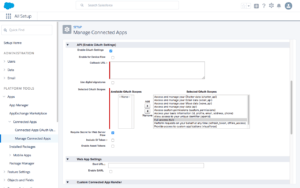
- In “Selected OAuth Scopes”, make all scopes available.
- Add https://<<your dss instance>>/dip/api/oauth2-callback in the “Callback URL” box. Save and note down the Consumer Key and the Consumer Secret as you will need them later.

- Next, go to Apps > Connected Apps > Manage Connected Apps > your app’s name and click Edit policies. In Refresh Token Policy,pick either Refresh token is valid until revoked, Expire refresh token if not used for or Expire refresh token after. The duration you add will decide the amount of time your user will be able to access their Salesforce account from DSS without having to log in. More details on Apps creation can be found here.
- Next, got to “OAuth and OpenID Connect Settings” and enable both “Allow OAuth Username-Password Flows” and “Allow OAuth User-Agent Flows“
Then, install the plugin in your Dataiku DSS instance.
Next, you will need to configure the authorization method of your choice.
Salesforce login method
- In DSS, go to Apps > Plugins > Salesforce > Settings > Salesforce login with Username-Password. Create and name a new preset.
- Enter all the login details, including email, password and security token (how to find your security token) of a valid Salesforce user.
- In the permissions, choose the groups of users that can use it. Anyone given access to this preset will be able to connect to Salesforce with this account.
Salesforce SSO method
- In DSS, go to Apps > Plugins > Salesforce > Settings > Salesforce login with SSO. Create and name a new preset.
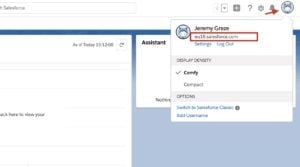
- Find out what is your instance host name, by login in your Salesforce account. The instance host name can be found under your name in the profile section.

Find your Salesforce Instance Host Name - In the Dataiku preset, fill in the Client ID with your Salesforce’s consumer key, Client secret with your consumer secret, Instance Hostname and save the preset.
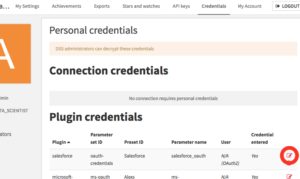
- Each DSS user will have to go to Profiles & settings > Credentials and click on the edit symbol corresponding to the right Salesforce preset. This will redirect the user to the Salesforce login page.

Select the plugin credential to be redirected to Salesforce login page
JSON token method
- In a project, create a new recipe: Salesforce – Refresh the JSON token (legacy).
- Fill in the consumer key, consumer secret, and all the login details, including email, password and security token (how to find your security token) of a valid Salesforce user.
- Run the recipe. And you can use the saved token on other components of the plugin.
How to use
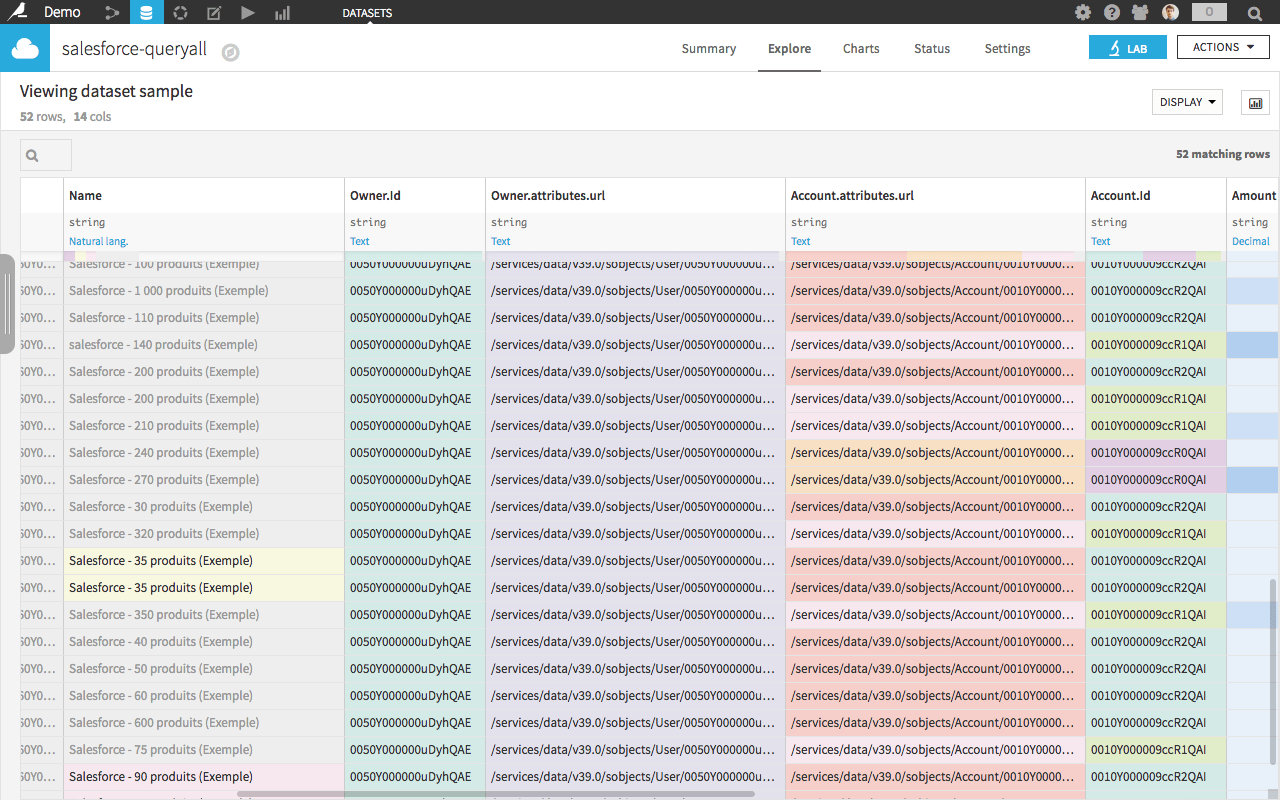
Create a new dataset using the Salesforce plugin. Pick an authorization method, define the preset or the token accordingly to the chosen method. Define the fields if necessary. Click on the Test & Get schema button. Then, Save and Explore.
Datasets available with the plugin
- Salesforce – Objects list: This is mainly to debug and find the objects you can access via the API. Start with this one to make sure that the connection works.
- Salesforce – SOQL query: Get the results of a defined SOQL query.
- Salesforce – Object records: Get the records of an Object. An SOQL query is built to query all fields of the object.
- Salesforce – List View results: Get the results of a List View on an object.
- Salesforce – Report: Get the results of a report
More details for the List View results dataset
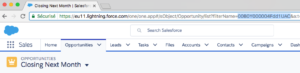
There are two parameters to define that you can find in the URL when you browse a List View on the portal.
Example: https://eu11.lightning.force.com/one/one.app#/sObject/Opportunity/list?filterName=00B0Y000004Fdd1UAC&a:t=1488295234124
- Object name:
Opportunity - List View id:
00B0Y000004Fdd1UAC
More details for the Report dataset
According to the documentation, the report is run immediately and returns the latest summary data for your level of access.
Two restrictions: the report must be in TABULAR format and must be available with a synchronous API call.
How to use the write recipe
The records of a Salesforce object can be added or updated.
- Prepare a dataset containing the object’s columns to be updated. Only the columns containing changes should be present, and the column names need to already exist in the target Salesforce object.
- If the column called “Id” is left blank for a given line, a new record will be created. If the id column contains a valid Salesforce record id, it will be updated with the information contained in the other columns.
- In your DSS flow, add a Salesforce – write recipe
- Select the dataset with the list of object to update as an input, and create a log dataset as an output.
- Set the relevant authentication method and preset, and type the name of the object to update, and Run the recipe
The output dataset will contain the operation performed (update, new record, error) for each line of the input dataset.
Troubleshooting
How to get logs
Have a look at DSS logs: backend.log
You might want to filter:
cat /path/to/DATA_DIR/run/backend.log | grep -i "salesforce"
When trying to authenticate with the JSON token method, I get {“error”:”invalid_grant”,”error_description”:”authentication failure”}
Please make sure that:
- Your Security Token is still valid.
- IP restrictions are disabled (or not blocking your IP).
- Permitted Users is set to “All users may self-authorize”.
- You’re not using a TLS 1.0 or below. You can debug this with Python script:
requests.get("https://www.howsmyssl.com/a/check").text
Resources
- Force.com REST API documentation
- Ask questions on the community
- Github repo with changelog and issues